

Welcome to the second “How To” post on the Flatiron Mural. Previously, I shared my initial steps in capturing the image. This post will outline the next step: creating a mirror image.
To accomplish this, I use both Lightroom and Photoshop.
Here’s how!
Step 1: Crop & Flip The Image in Lightroom:


- Select CROP TOOL and set ASPECT to 1:1
- CROP shot to desired size
- Select PHOTO from the top menu
- Select FLIP VERTICAL
Step 2: Open & Create Layer in Photoshop: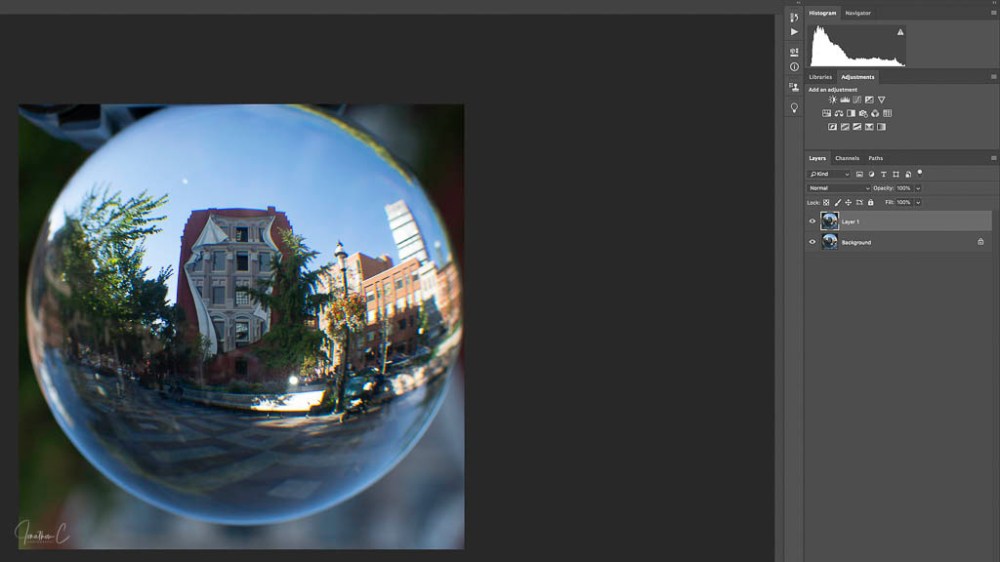
- Hit COMMAND E to open the image in Photoshop
- Hit COMMAND J to create the layer
Step 3: Create a Guiding Line:


- Select VIEW from the top menu
- Select NEW GUIDE
When the new window opens:
- Select VERTICAL
- Set POSITION to 50%
Step 4: Position Image:
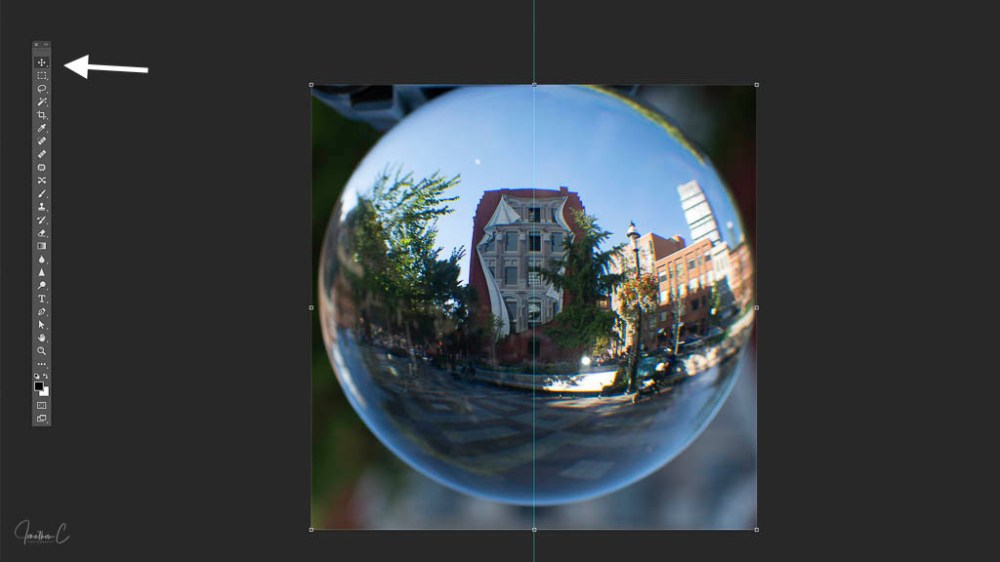
- Select the MOVE TOOL (“V” on keyboard)
- ADJUST image until desired position is achieved
Step 5: Select Half of Image to Mirror: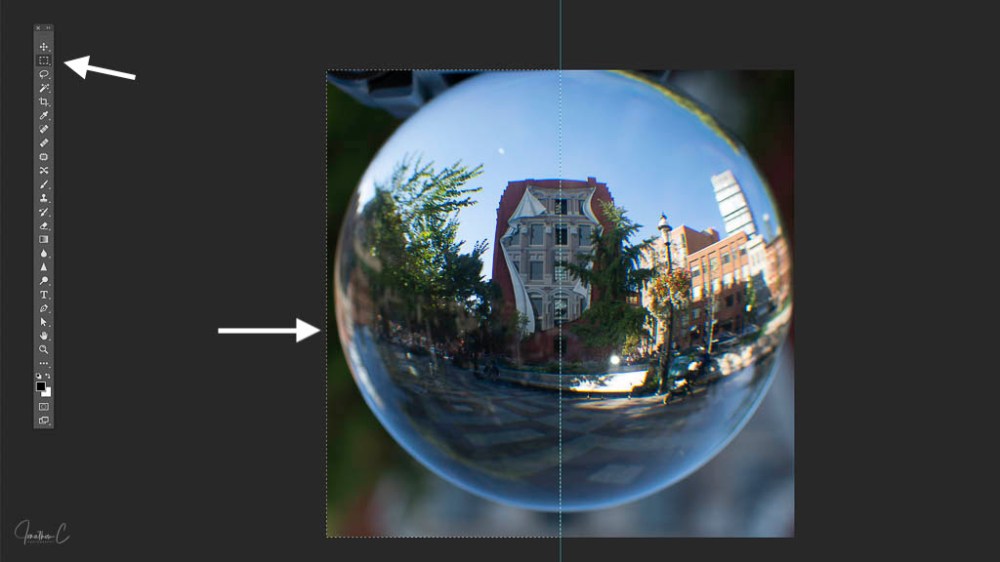
- Select RECTANGULAR MARQUEE TOOL (“M” on keyboard)
- POSITION CURSOR at top of the Guiding Line
- CLICK, HOLD & DRAG the cursor until half the image is surrounded by dotted line
Step 6: Copy & Paste the selection in a new layer:
- Hit COMMAND C to copy
- Hit COMMAND V to paste
Step 7: Create Mirror Image:


- Select MOVE TOOL
- CLICK on the box and DRAG the layer across to the opposite side of the image
NOTE: ensure that “show transfer controls” at the top of the workflow is enabled to see the boxes around the image
Step 8: Commit to the Transformation: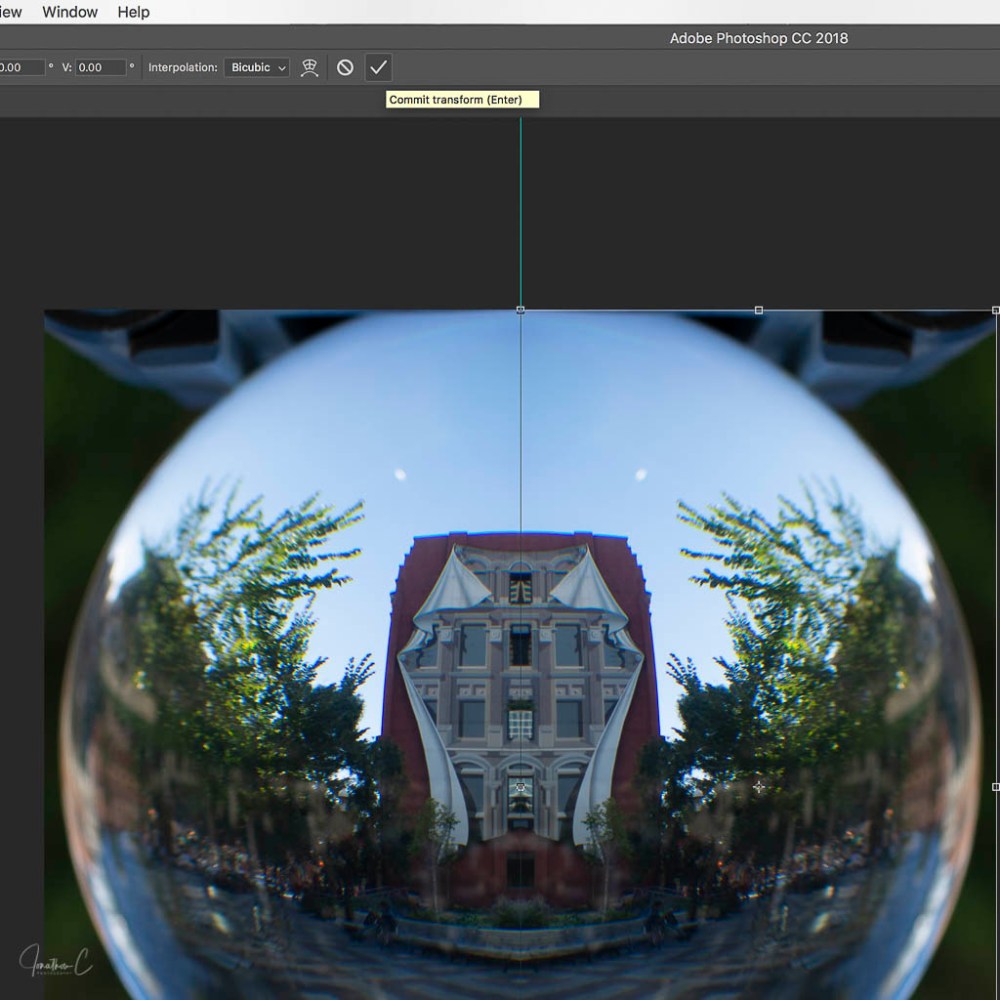
- Click the CHECKMARK at the top of the workflow (once you are happy with the image)
Step 9: Remove the Vertical Guide: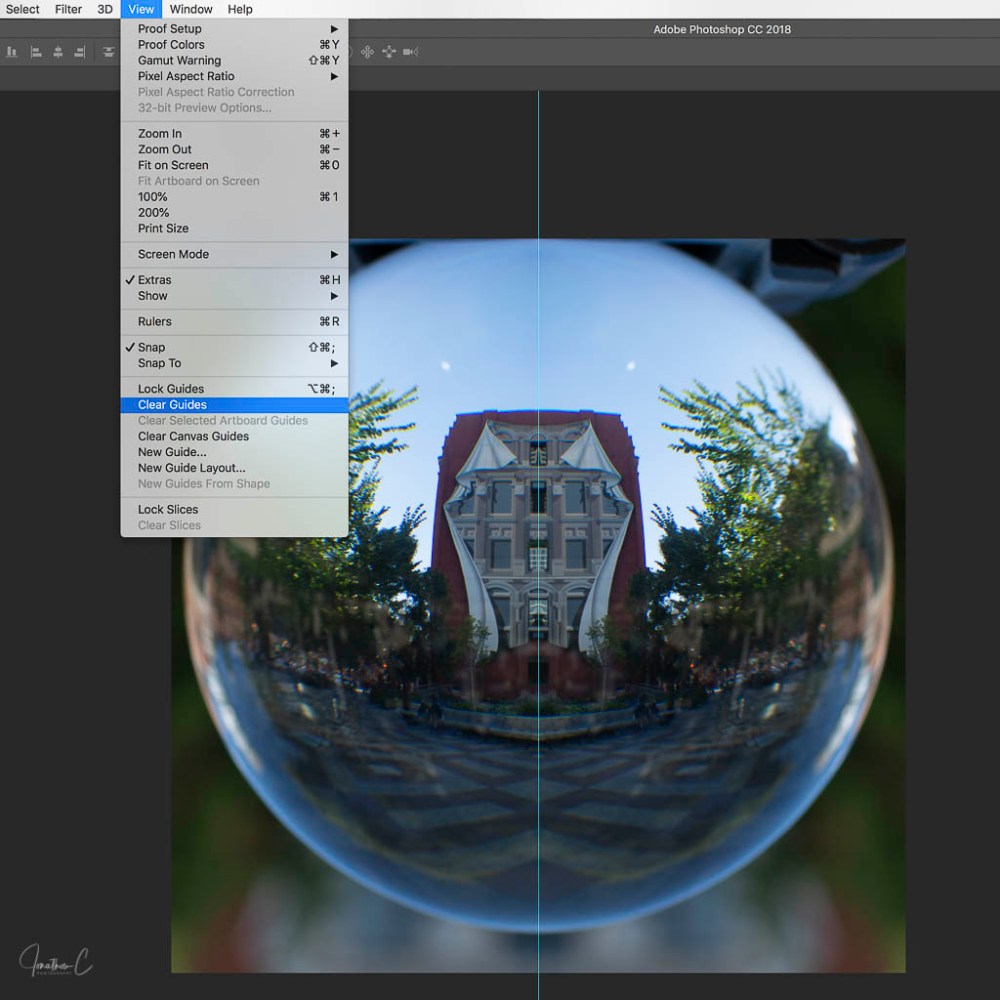
- Select VIEW
- Select CLEAR GUIDE
Step 10: Export To Lightroom: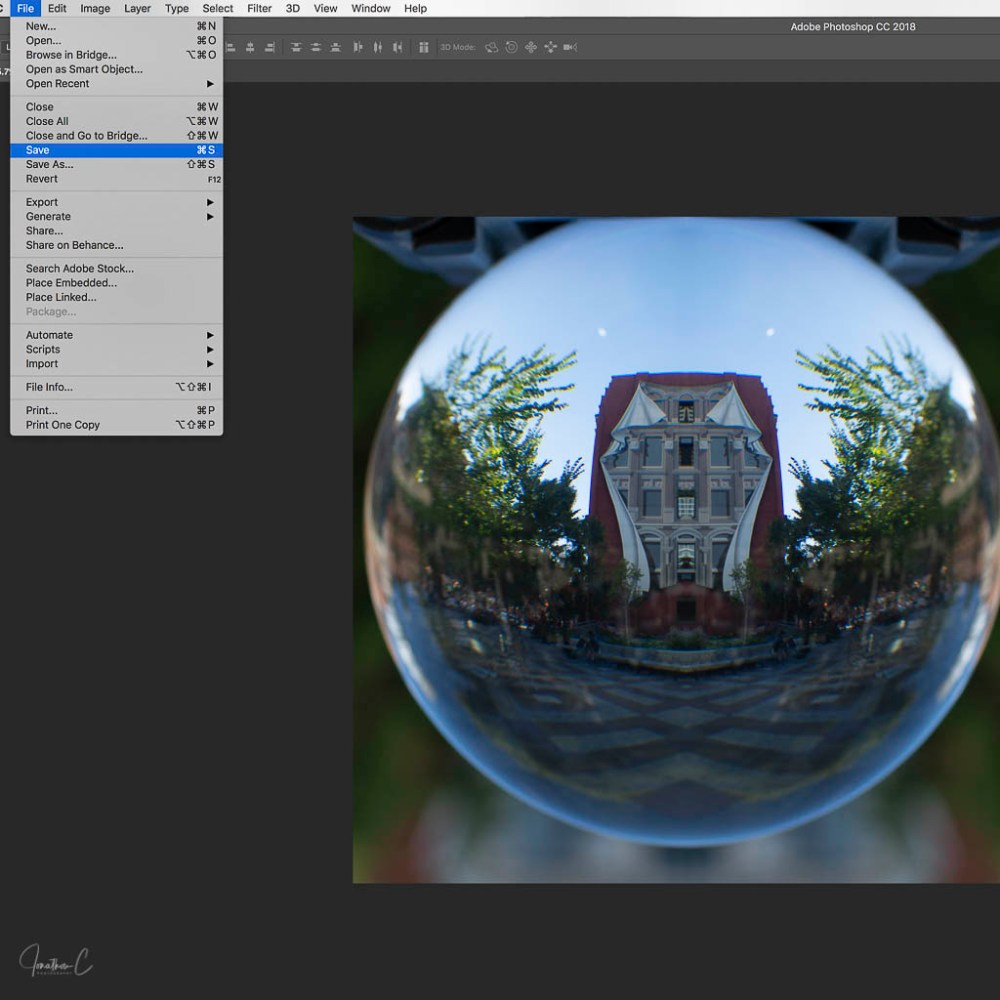
- Select FILE
- Select SAVE
There you have it! In my next post, I will illustrate how I edited this mirror image in Lightroom.
Until then, I’d love to hear from you! Did you find this interesting? Useful? Please share your thoughts and what you liked about it!
COMING SOON: The second instalment in my “Where to” series about Berczy Park! If you haven’t read the first instalment featuring The Gooderham Building, please take a look!
Don’t forget to click like and recommend Jonathon C Photography to your friends or anyone you know who may find it interesting.
Finally, please follow jonathoncphotography.com so you can always be first to hear about all the new content that I post!

[…] accomplish this, I will use the same steps I outlined in my Flatiron Mural blog, but with tweaks to suit this […]
LikeLike