

Welcome! Previously, with “How I Got Here“, I shared my initial steps in bringing an image concept to life. In this post, I will outline the next step in my process: blending images. What follows may seem daunting for novices, but don’t worry! The key to success is persistence and practice! Stick with it and I promise you will be producing amazing results in no time!
When I edit black & white or colour splash images, I always use Lightroom. However, for (slightly) more complex work like blending, I use Photoshop.
Here’s how!
8-STEPS TO THE PERFECT BLEND
STEP 1: Choose images to blend. For this piece, I decided on these because I thought they had the nicest streaks of light from the trains.


STEP 2: Import images into Photoshop. To do this:
- Highlight the 2 images you want in the filmstrip at the bottom of Lightroom,
- Right Click > Edit In > Open as Layers in Photoshop.
This will open Photoshop with the pictures as separate layers in the layers panel, as you can see here with the images I chose.


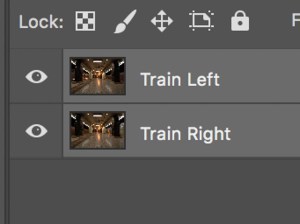
STEP 3: Rename. This is an important step!
- Double-click on each layer and rename them.
I always rename these layers to avoid confusion. Here I used “Train Left” and “Train Right”.

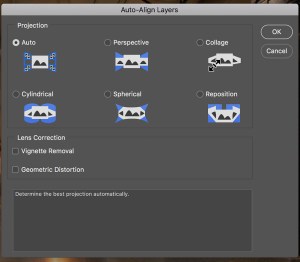
STEP 4: Align Layers.
- Select both layers (click on one, shift click the second)
- Go to MENU and choose Edit > Auto-Align Layers
- When the pop-up menu appears, set PROJECTION to AUTO
- Click OK

STEP 5: Create a Layer Mask. I like to use a layer mask to erase parts of the top picture and  reveal the bottom one. To do this:
- Select the top layer (for mine, it is “Train Left”)
- Go to MENU and choose Layer > Layer Mask > Reveal All
When you do this, a white image will appear next to the top image in the layers panel.

STEP 6: Prepare to blend.
- Press the letter “D” on the keyboard
This will reset the colours in the toolbar to Black and White, with Black on top.
STEP 7: BLEND!!!
- Use the BRUSH tool to paint away the top image and reveal the parts of the lower image you want
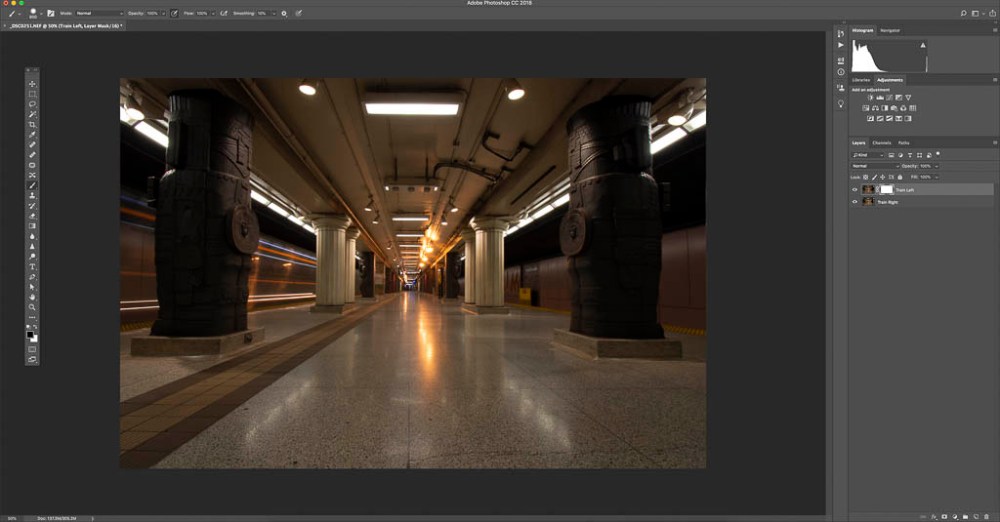
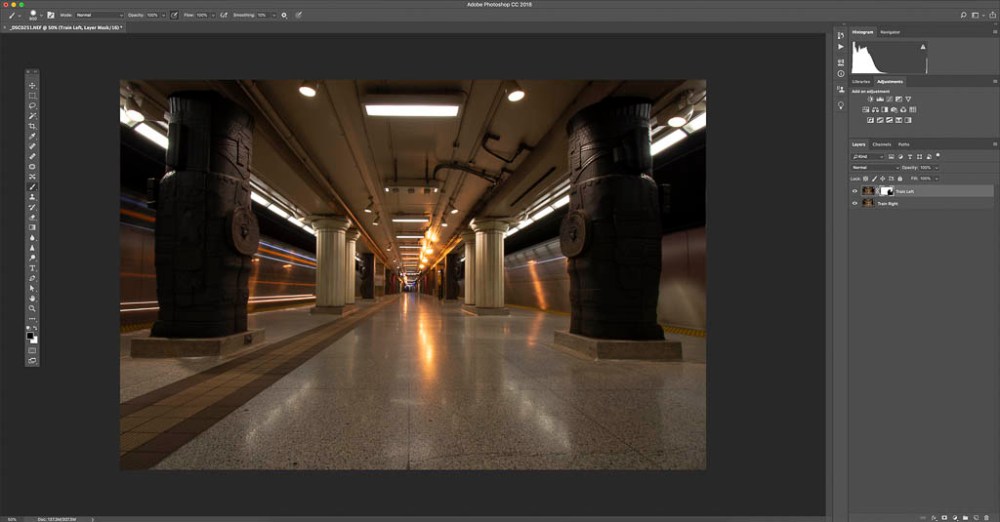

These 3 pictures show the start, mid and final stage of blending my 2 images. Look closely and you can see the train on the right being revealed.
Helpful tips:
- To increase or decrease the size of the brush, I use the [ and ] keys.
- If I remove too much, I hit “X” on my keyboard, and start painting. This allows me to paint back what I had removed.
STEP 8: Open blended image in Lightroom.
- Select MENU and choose FILE > SAVE
When you do this, the blended image opens in Lightroom, and you are ready to edit!
Here we have it. Following the 8 steps, we have gone from the 2 images at the start of this post, to this image here (turned our pretty well, I think):

Thanks to everyone who has managed to get through this! This post was dense, so well done! Now – get out there and blend; I can’t wait to see your results!
Next week, I will use this blended image and go through my editing process by showing you my workflow in Lightroom.
Until then, I’d love to hear from you! Did you find this interesting? Useful? Please share your thoughts and what you liked about it!
COMING SOON: The second instalment in my “Where To” series about The Royal Ontario Museum! If you haven’t read the first instalment, “Museum Station & The Chin Crystal“, please take a look!
Don’t forget to click like and recommend Jonathon C Photography to your friends or anyone you know who may find it interesting.
Finally, please follow jonathoncphotography.com so you can always be first to hear about all the new content that I post!

[…] my subway image, focusing on my Lightroom editing process. If you haven’t read the first or second post, please take a […]
LikeLike
[…] 8 Steps to the Perfect Blend, I outlined how I blend shots in Photoshop. In this post, I will show my Lightroom editing process […]
LikeLike
[…] subway image, focusing on applying individual adjustments. If you haven’t read the first second or third posts, please take a […]
LikeLike