

Welcome! This post will outline the global and specific edits of my Flatiron Mural Lens Ball shot.
In a previous blog, I outlined the order in which I edit. My process here is almost identical for the global edits, so I will briefly outline those steps and focus more on the specific edits towards the end.
Let’s get to it!
After importing the shot from Photoshop into Lightroom, I begin my process.
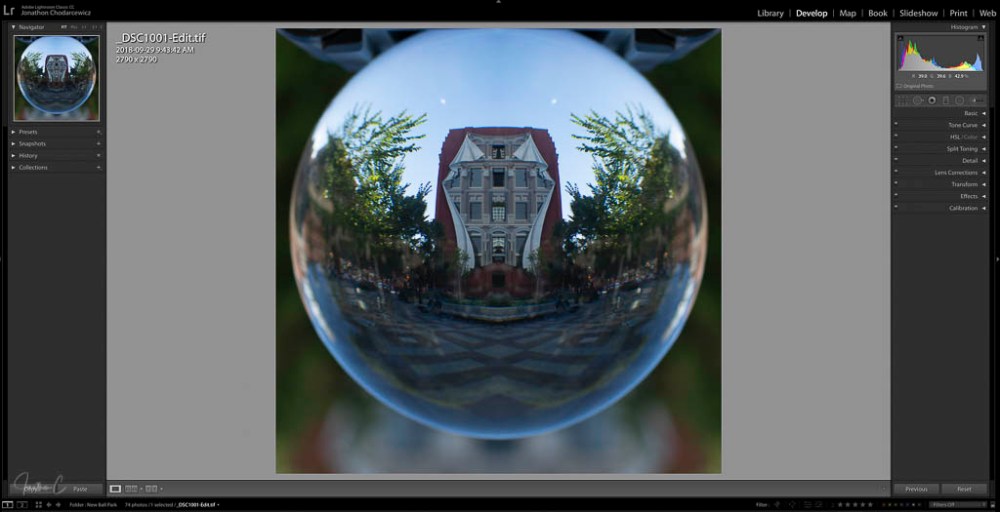
STEP 1: Before making any edits, I CREATE A VIRTUAL COPY:
- Right Click on the image
- Choose Create a Virtual Copy
STEP 2: TRANSFORM panel:
- click AUTO (results work for this shot)
STEP 3: LENS CORRECTION – in Profile Mode:
- Enable LENS CORRECTION
- Enable REMOVE CHROMATIC ABERRATION


STEP 4: DETAIL panel:
- NOISE REDUCTION: I adjust all these sliders to the low 80 range.
- SHARPENING: I adjust the sliders to personal preferences for the shot
STEP 5: BASIC panel.
In the PRESENCE section, I:
- set DEHAZE between 40 – 45
- set CLARITY between 10 – 15
- set VIBRANCE and SATURATION to preference to bring out colour inside the ball
In the TONE section, I:
- click AUTO
- adjust specific sliders to my personal liking (I adjusted almost all of them here)
- then go back and re-adjust VIBRANCE and SATURATION to preference
STEP 6: HSL / COLOUR panel:
After selecting ALL to see all panels, I:
- Adjust LUMINANCE sliders to preference
- Adjust SATURATION sliders to preference


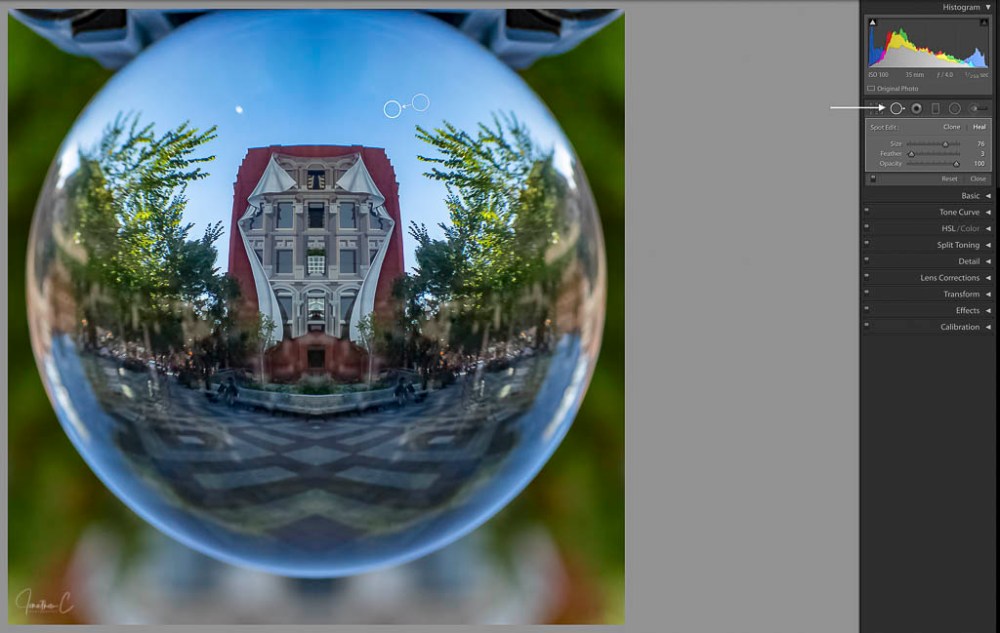
STEP 7: SPOT REMOVAL: I don’t like the 2 sun flares, so I want to remove them.
In the adjustment panel below the histogram, I choose the SPOT REMOVAL tool:
- Adjust SIZE / FEATHER / OPACITY to preference
- Set SPOT EDIT to HEAL (Lightroom will automatically choose a part of the photo to replace the spot chosen)
- Click on the flares (if I am not satisfied with the result, I can move the replacement indicator to any place on the photo. I did not do that here as I liked the result)
STEP 8: BRUSH TOOL
To remove colour from the area around the ball, I:
- Click on the BRUSH TOOL
- Adjust SIZE / FEATHER / OPACITY to preference
- Adjust SATURATION to -100
- PAINT the colour away


STEP 9: BRUSH TOOL
I repeat the same steps as above to remove colour from inside the lens ball. What is removed is based on my own creativity and preference.


STEP 10: One final touch – SPOT REMOVAL
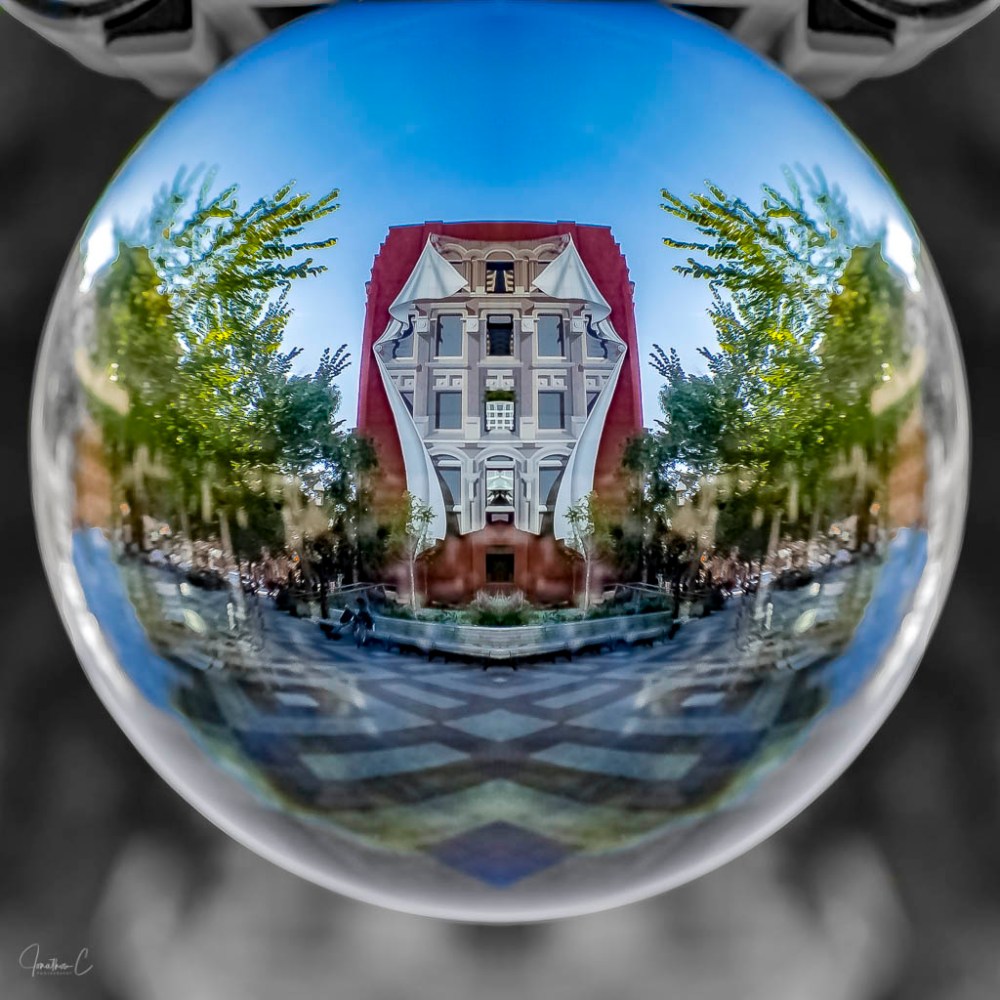
I repeat the same process as STEP 7 to remove the person on the bench from the right side of the lens ball. This is purely a creative choice, but in my opinion adds a subtle something extra to the shot.

For this step, it was necessary to move the replacement indicator around until I found just the right match so the bench looked correct.
And there you have it! The final image:
I’d love to hear from you! Did you find this post interesting? Useful? Please share your thoughts and what you liked about it!
COMING SOON: The third instalment in my “Where To” series about the area around the Flatiron Mural in Toronto! If you haven’t read the first or second posts, please do – I’d really like to know what you think.
Don’t forget to click like and recommend Jonathon C Photography to your friends or anyone you know who may find it interesting.
Finally, please follow jonathoncphotography.com so you can always be first to hear about all the new content that I post!
