

Welcome to my next “How To” series in which I demonstrate how to create a stunning interior image focusing on depth, shape and symmetry. As with previous posts my hope is to inspire and create discussion. I look forward to hearing about your approach using different points of view.
Let’s get started!
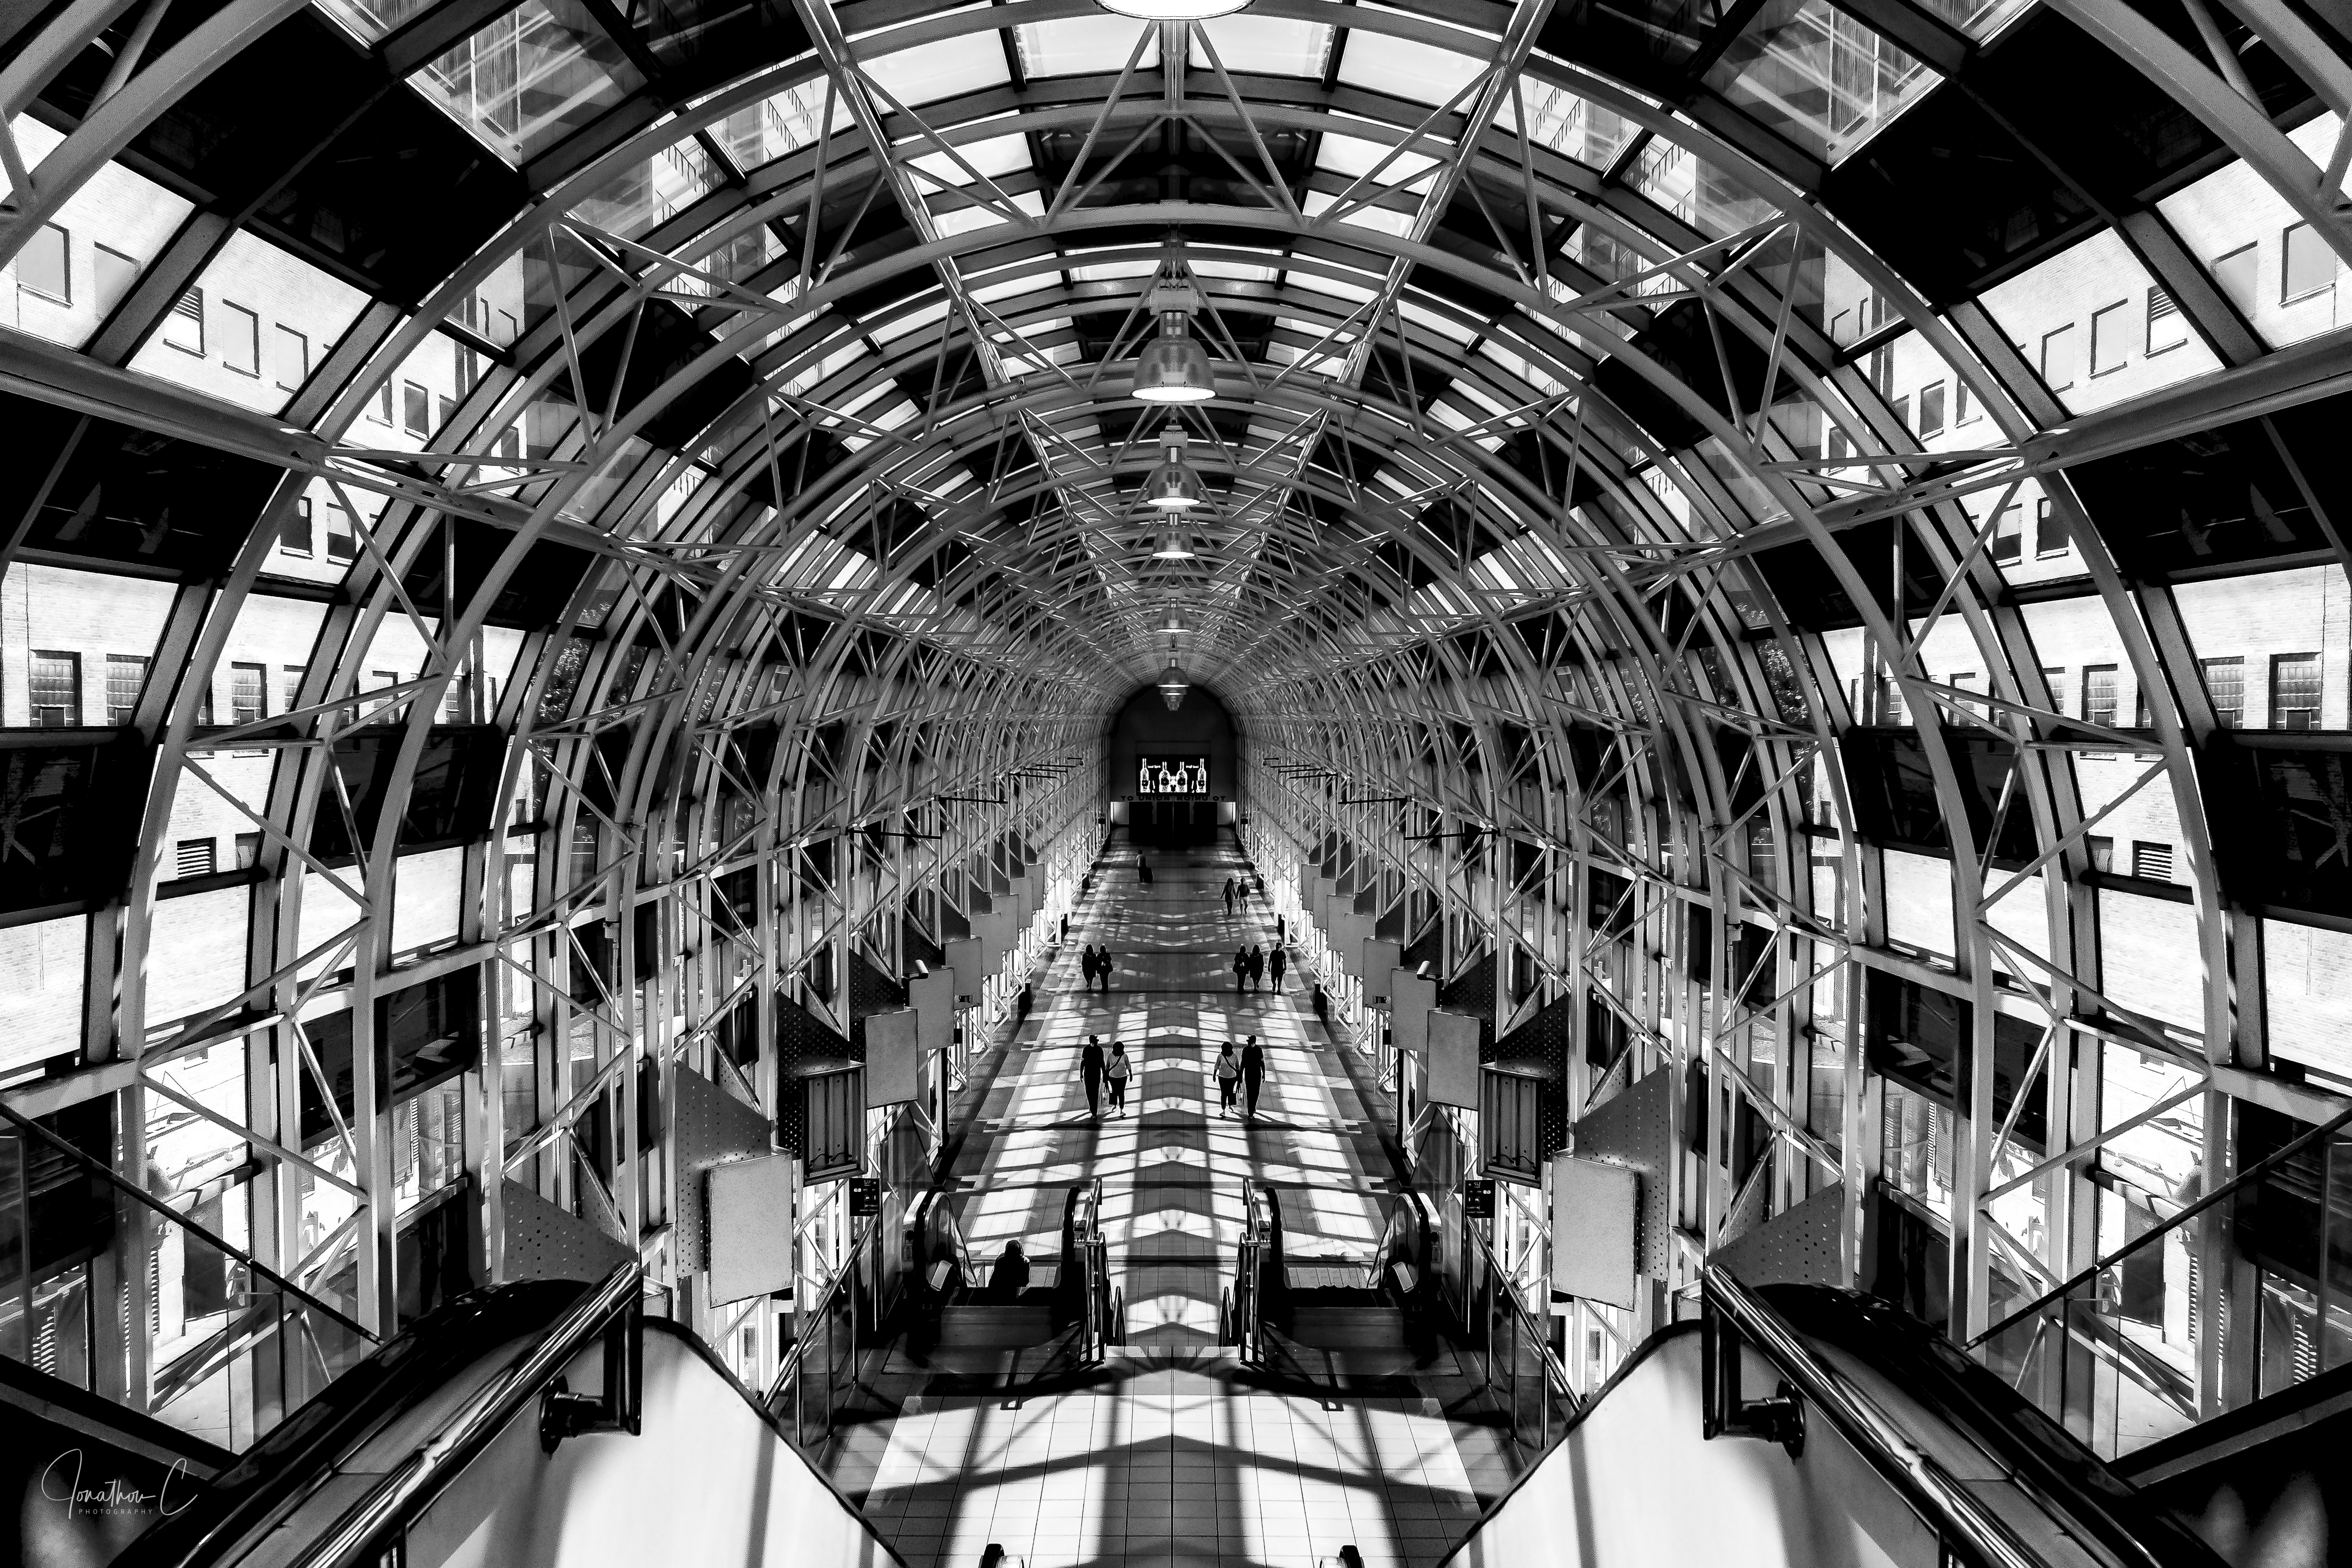
THE FINAL PRODUCT
This is the shot I wanted. How did I achieve it?
FROM CONCEPT to LOCATION
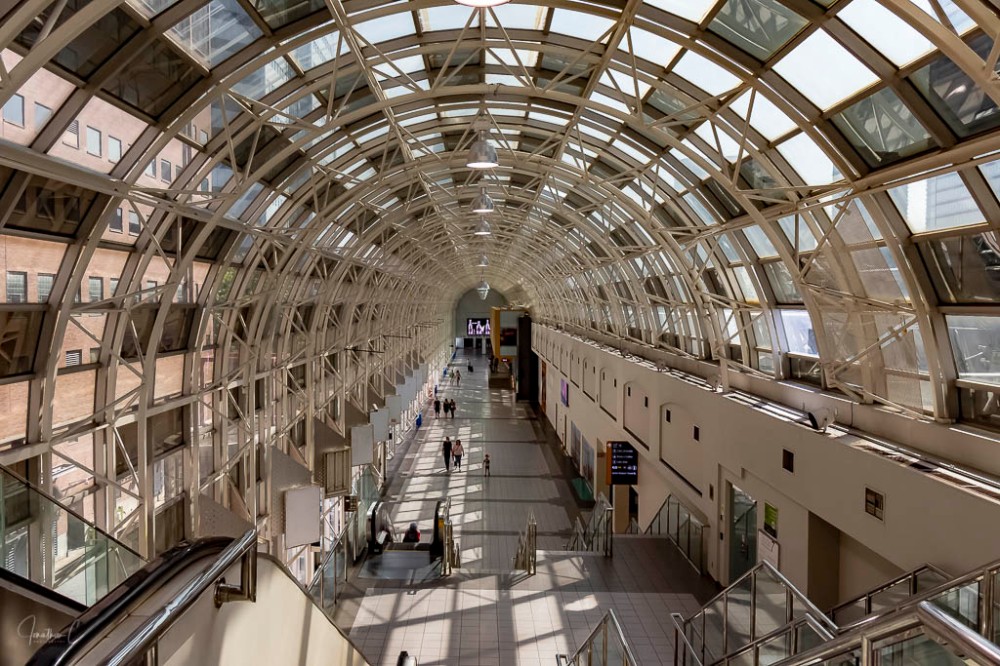
For this project, I wanted to produce an image from the Skywalk showcasing the depth, symmetry and geometrical patterns of the domed ceiling.
To make the shot unique, I envision a high contrast black and white image, with some people to showcase the size of the structure and a variety of geometrical patterns pervading the entire shot.
EQUIPMENT, SET UP & COMPOSITION
For this shoot, I simply need my camera and wide angle lens.
To achieve the desired shadow effect, I shot on a sunny day, when the sun was directly above the domed ceiling of the Skywalk. I had to ensure that there were no advertising banners hanging in the facility as they would adversely affect the depth of the shot. I had to scout this location multiple times in order to have all factors line up just right.


When thinking about the composition of this shot, I needed a centre shot which showed the depth of the structure. When shooting, I tried experimenting with different camera angles, some focusing more on the ceiling, and some the floor. I also tried an off-centre shot, but it didn’t really work.


I also tried shots from opposite ends of the skywalk to see which I preferred.


After looking at multiple shots that I had taken from different ends, camera angles and on different days, I finally decided to use this one.
The image is well-balanced and I like the height at which the shot is taken as it shows patterns from both the ceiling and floor. I also like the number of people and depth of the shot. However, I want the shot to be more symmetrical than it is. I will accomplish this by creating a mirror image and outline how in my next post.
Until then, I’d love to hear from you! Did you find this interesting? Useful? Please share your thoughts and what you liked about it!
COMING SOON: The first in a new “Where To” series showcasing the area around the Skywalk in Toronto!
Don’t forget to click like and recommend Jonathon C Photography to your friends or anyone you know who may find it interesting.
Finally, please follow jonathoncphotography.com so you can always be first to hear about all the new content that I post!

[…] blog focusing on creating a mirror image using my Skywalk shot. If you haven’t read the initial post, please […]
LikeLike
[…] to the second “How To” post on the Skywalk image. Previously, I shared my steps in capturing the image. This post will outline the next step: creating a mirror […]
LikeLike
[…] blog focusing on edits to my Skywalk shot. If you haven’t had the chance to look at the first two please […]
LikeLike
[…] previously, so this process will be easy to follow. If you have not had the chance to read my initial post on this shot, please do so […]
LikeLike
[…] to this bonus “How To” post! In my previous series, I outlined my creative process for my Skywalk shot. However, when capturing shots for that, […]
LikeLike